At Vatu Ltd, we have 3 main goals: Create high-quality websites Give great customer service to our clients Create a happy, safe,...
Hosting Your Service on AWS Lambda
Abstract
This article will go over hosting our RSS Feed Slack Bot we created earlier. If you have not followed along you can grab the code from Github. I chose to use AWS Lambda because it should cost less than a dedicated hosting solution, such as EC2. Also, I wanted to learn how to use AWS Lambda.
Adding an AWS Lambda Hook
Add this function into your bot.py file. It can be called anything, but needs to have the event and context parameters.
def lambda_handler(event, context):
    main()
Bundling Your Code
You may include your config.ini, however we will opt out and instead set up our environment variables within AWS Lambda.
zip -9 bundle.zip bot.py
zip -9r bundle.zip LICENSE
zip -9r bundle.zip README.md
zip -9r bundle.zip requirements.txt
Bundle your dependencies
cd <virtualenv directory>/lib/python3.6/site-packages
zip -9r <path to your zip>/bundle.zip *
You can view the contents of your zip by doing:
unzip -l bundle.zip | lessCreate a Role for AWS Lambda
- Go to IAM services in your AWS console
- Click ‘Roles’ on the left sidebar. Click ‘Create role’
- Select Lambda as your service that will use the role
- Click ‘Next: Permissions’
- Add ‘AmazonS3FullAccess’ and ‘AWSLambdaBasicExecutionRole’
- Click ‘Next: Review’
- Add a Role name and description
- Click ‘Create: role’
Setting Up Your AWS Lambda
- Login to AWS Lambda through the AWS Console
- Choose the same region you set your S3 in
- Click ‘Create function’
- Click ‘Author from scratch’
- Click ‘Next’. Skip choosing a trigger for now
- Enter a Name and Description
- Choose ‘Python 3.6’ as your Runtime
- Choose ‘Upload a .ZIP file’ from the Code entry type dropdown menu
- Click ‘Upload’ and choose the bundle.zip you created earlier
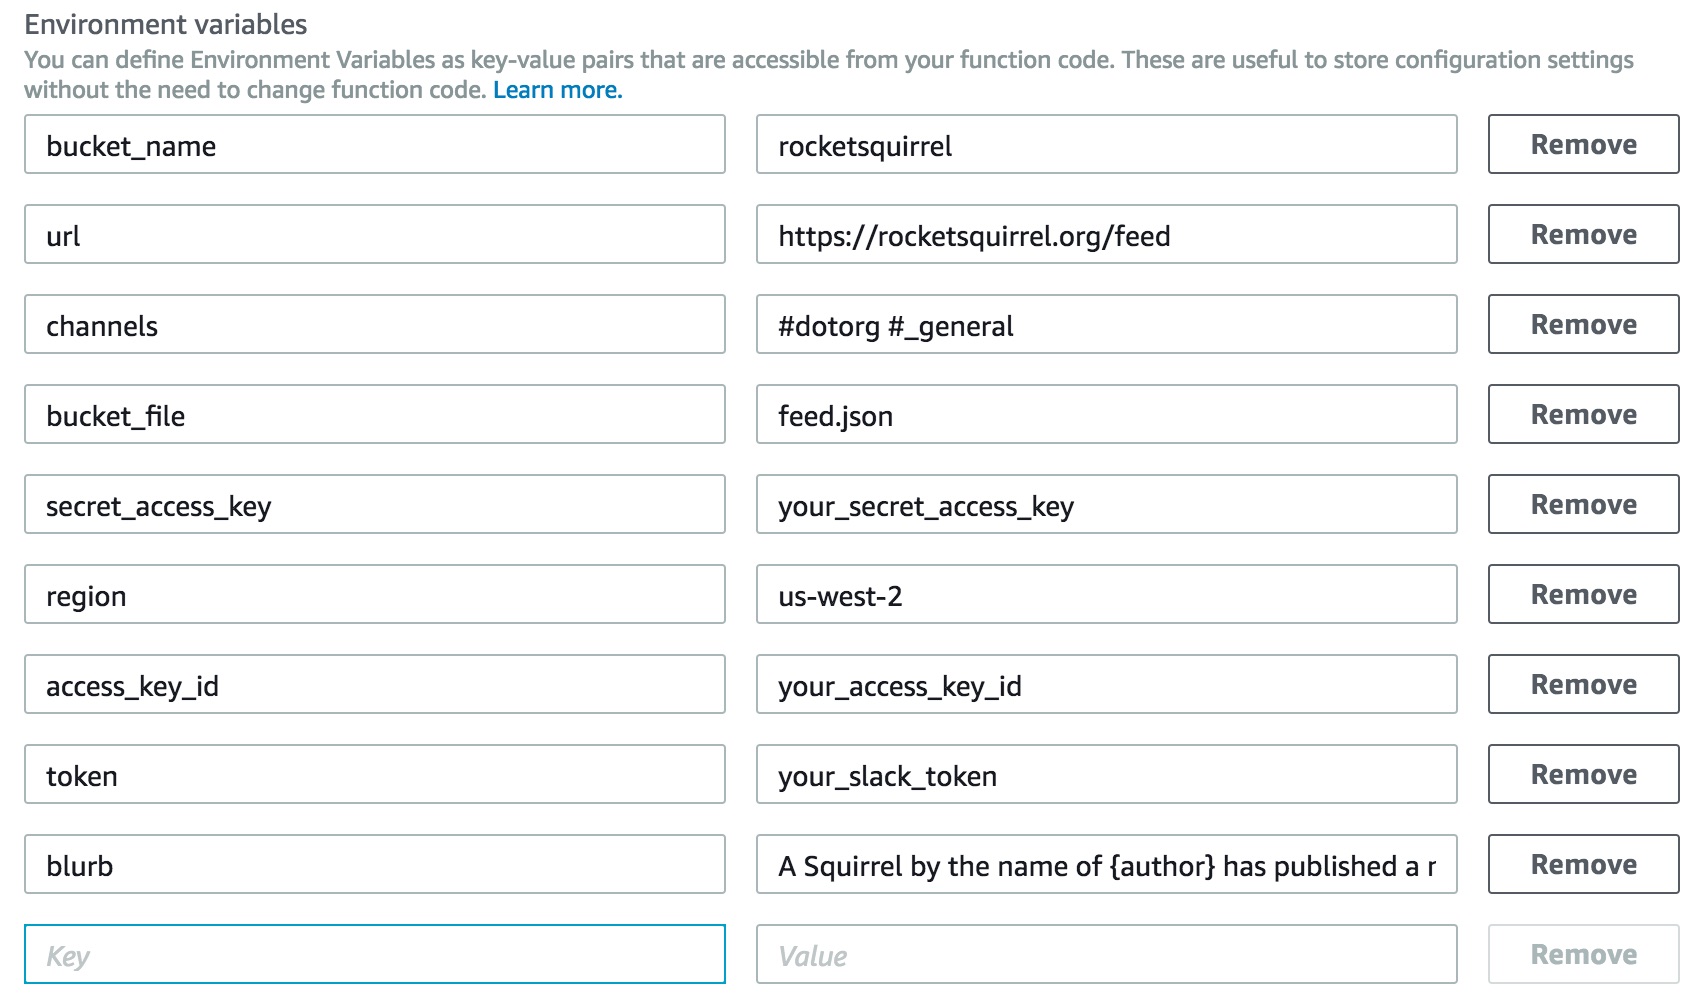
- Enter your environment variables from your load_config function. It is recommended to initially use a development slack token or post to a channel dedicated to testing. See below screenshot

- Under Handler enter ‘bot.lambda_handler’ where bot is your python file and lambda_handler is your AWS Lambda hook created earlier
- Under Role, select ‘Choose an existing role’ from the dropdown menu
- Under Existing role, select the role you created in the previous step
- Add an appropriate description
- Add appropriate tags
- Under ‘Advanced Settings’, select your resource allocation. I left defaults with minimum resources.
- Choose an appropriate Timeout. I had left default initially which had timed out. I chose a 1 minute timeout. This is probably too generous. 10 seconds, possibly even less, would be appropriate.
- Click ‘Next’. Click ‘Create function’
- Test your function. You may need to adjust your json file in S3. View logs in CloudWatch.
Add a Trigger
- Choose ‘Triggers’ in your AWS Lambda function
- Select ‘+ Add trigger’
- Click inside the dashed grey box in front of the green triangle
- Select ‘CloudWatch Events’ from the dropdown menu
- Under Rule, select ‘Create a new rule’ from the dropdown menu
- Enter a Rule name and description
- Under Rule type, select the ‘Schedule expression’ radio button
- Under schedule expression, enter how often you want your service triggered. I choose hourly with the expression ‘0 * * * ? *’
- Make sure the Enable trigger checkbox is marked
- Click ‘Submit’
CloudWatch Logs
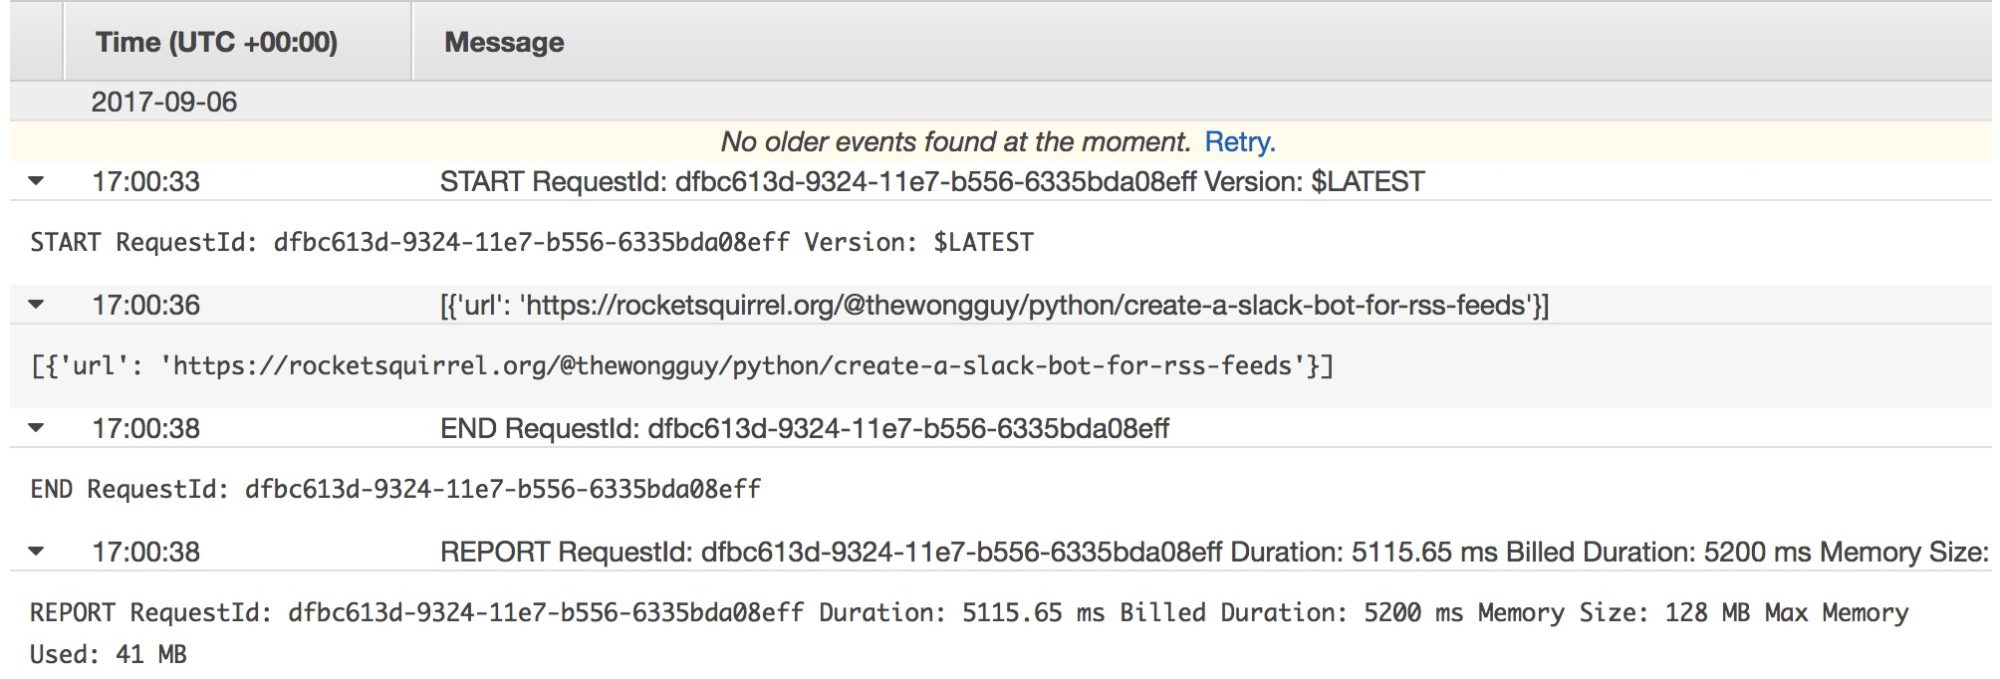
A new post will trigger a log like below

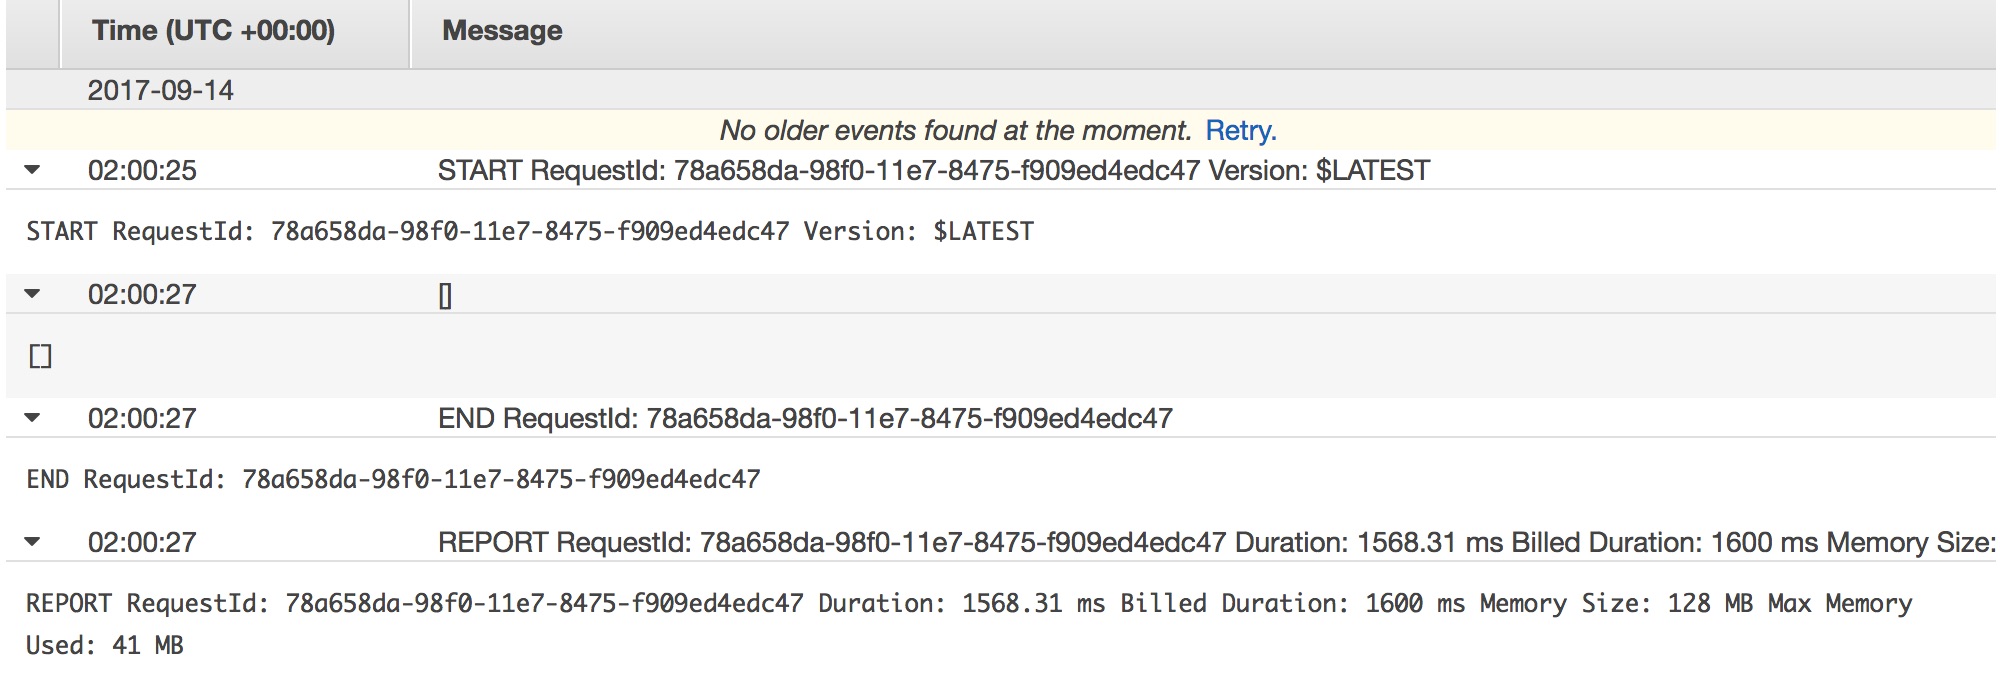
Regular non-events will have empty strings and have a lower Billed Duration

You must be logged in to post a comment.
